I seriously won the mom jackpot! My own mom is so unbelievably caring, sweet, funny, and kind. I would have been crazy lucky just to have my mom, but I also have two of the best mother-in-laws, and equally amazing grandma-in-laws! For some reason, there’s a stereotype of the “mean MIL” but I definitely don’t have that, and I couldn’t imagine not liking my in-laws. What can I say, I’m just hashtag blessed 😉
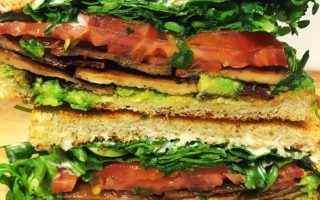
Because my mom is so amazing, I love to make Mother’s Day a real treat for her (hahaha, see what I did there…). Usually on Mother’s Day, my dad and brother make meals with my mom’s favorite foods, I make a dessert, and she hangs out outside with her goats, chickens and dogs (it’s a real funny farm over there). I’d usually like to make cupcakes, but sometimes I’d branch out and make a layered cake or a fruity cheesecake. Either way, my desserts were always centered around animal products (eggs, butter, cream cheese, buttermilk, milk, heavy cream…you get the point).
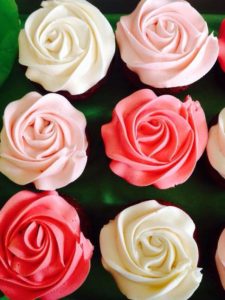

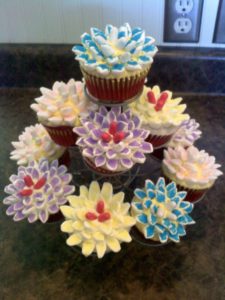
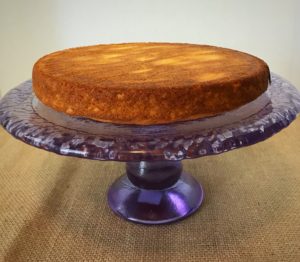
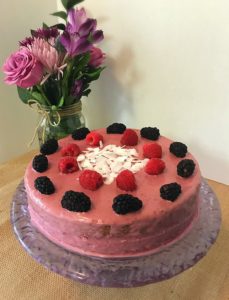
(These are some Mother’s Day desserts I’ve made in the past)
So, even though desserts are my favorite dishes to make, I pretty much stopped making them when I went vegan. I kick myself now because I really missed out on so many sweet treat opportunities. Back then, I had this foolish notion that vegan desserts would never be as good as non-vegan desserts. Fortunately, I was dead wrong! Sometimes it’s really just as easy as swapping out the animal products for vegan ones! Once I figured out some baking hacks, I was back in the kitchen.
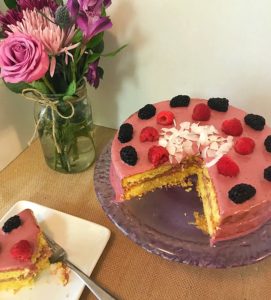
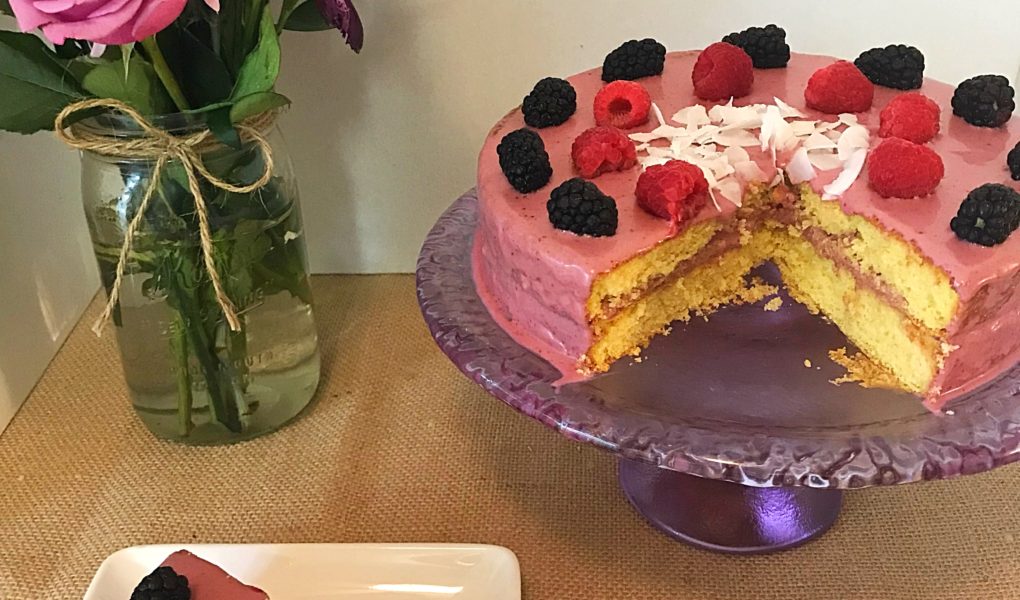
This particular cake is so tasty, and easy to make, it’s almost unbelievable! What’s even more unbelievable is the fact that it is completely free of animal products (perfect for vegans and non-vegans alike!) 😀 The secret to this cake, is that it’s made with… *drum roll please* …BOXED CAKE MIX! Say what?! I know, it’s crazy, but did you know that there are actually a few cake mixes that are accidentally vegan? Of course, once you add eggs the cake is no longer vegan. So, my hack for this cake is to replace the eggs, oil and water with full fat canned coconut milk! I mean, it makes sense: coconut milk is so rich and fatty, it’s the perfect all-around vegan replacement in a cake. The cake comes out super moist* and is the perfect pairing to my Berry Yummy Buttercream Frosting. The cake is rich, the frosting is sweet, and the berries bring a little tartness to the party. It’s truly magic in your mouth. Okay, okay, that’s enough blabbing from me, let me show you how to make this cake 😊
*not my favorite word, but it’s really the only word that perfectly captures the essence of this cake
Ingredients:
The cake:
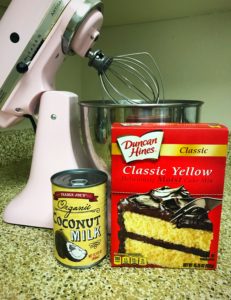
- 1 box of Duncan Hines Classic Yellow cake mix (accidentally vegan, and PETA approved 🙂 )
- 1½ cup full fat coconut milk
- 2 tsp vegan butter or light oil spray (I used coconut oil spray)
- Parchment paper, optional
Berry Yummy Buttercream Frosting:
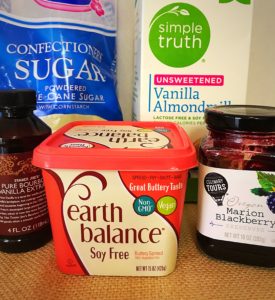
- 2 cups powdered sugar
- 3 tbs vegan butter
- 2 ½ tbs preserves of choice (I used Marion Blackberry, yum!)
- 2 tbs almond milk (or plant milk of choice)
- 1 tsp vanilla extract
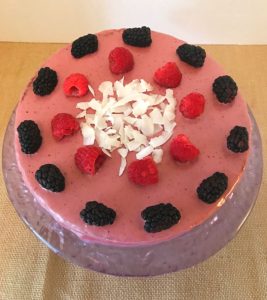
Topping: I like to decorate the top with fresh berries and coconut flakes, but feel free to get creative 😀 Shaved chocolate, fresh edible flowers, citrus zest or leave the top alone to let the cake shine on it’s own!
Directions:
The Cake:
Preheat oven to 350°F. Empty cake mix into the bowl of a mixer, or a medium size mixing bowl and add coconut milk. With a stand mixer or a hand mixer, whisk coconut milk and cake mix together, scraping down the sides occasionally, until smooth. While the batter mixes, grease your pan(s) with spray or butter. Make sure every bit of the inside of your pan is greased, the last thing you want is to have your cake stick to your pan. *A trick I really like to do is to cut a piece of parchment paper to the size of the bottom of the pan, then put it in after you have greased your pan. This really ensures the cake comes out nicely.
When the batter is fully mixed, transfer it to the pan(s) of your choice (be sure to scrape the bowl and the beater). I went with two 9″ pans because a round layered cake looks best on my favorite cake stand. You can also use the directions on the back of the box to make your cake in a rectangular pan for easier frosting and serving.
Bake according to the package directions, until is is completely cooked through (a toothpick should come out clean when inserted into the center). Once the cake is done, remove from the oven and set on a cooling rack for about 30 minutes. Now that the cakes have had a chance to cool, (carefully) remove them from their pans and finish cooling for another two hours directly on the cooling racks.
Berry Yummy Buttercream Frosting:
Using your mixer, cream the butter and sugar together until they are combined. Next, add the preserves, vanilla extract and 1 tablespoon of almond milk. Once everything begins to come together, drizzle in the second tablespoon of almond milk. Make sure to scrape down the sides of the bowl as you’re mixing in the almond milk. Once the frosting has come together, and looks smooth, transfer to the fridge for 30 minutes (time saver: make the frosting while the cake bakes then while the cake cools, the frosting can sit in the fridge).
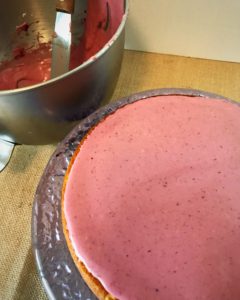
Assemble the Cake:
Now that the frosting has had a chance to set up (it can be a little on the runny side; which is why I like to chill it for a bit before trying to frost the cake), take it out of the refrigerator and frost your cake:
- Optional: if your cake does not come out of the oven pretty level (mine usually do), use a serrated knife to cut away a part of the top so the cake sits level
- Place one cake layer on your plate/tray/stand and frost the top with half of the frosting
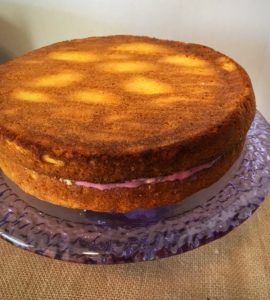
- Add the second cake layer on top of the first and use the rest of the frosting to add a thin layer to the outside of the whole cake
- Optional: add your favorite toppings (I used blackberries, raspberries and coconut flakes)
- Put the cake back in the fridge for at least another hour, or until you are ready to serve it