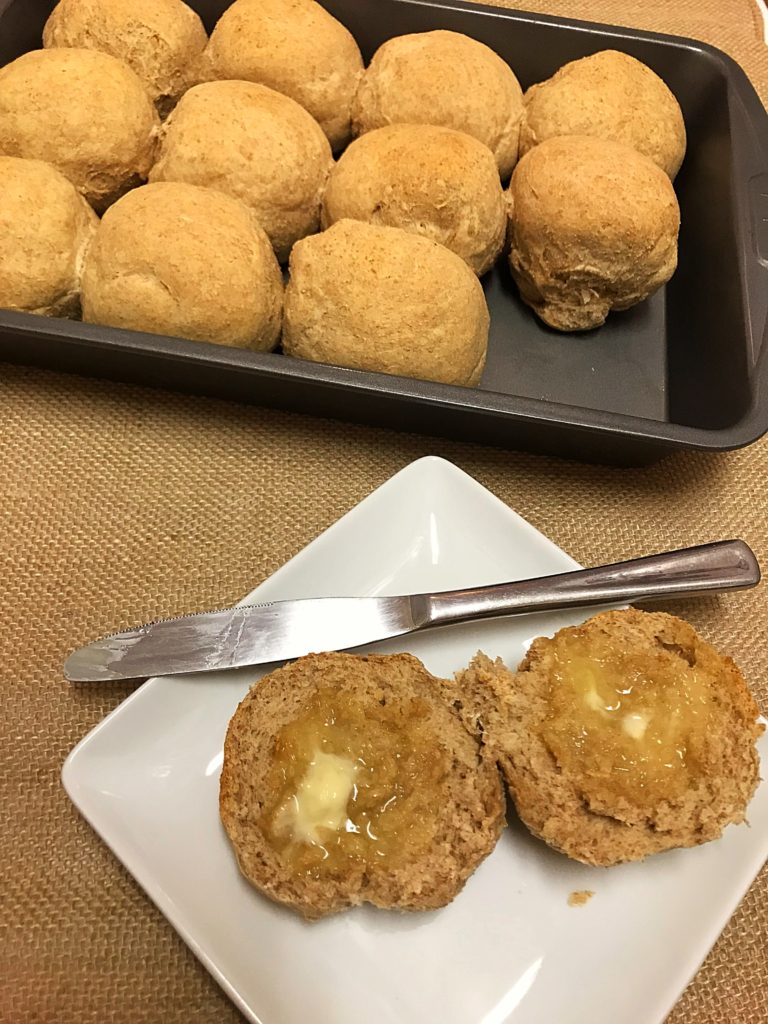
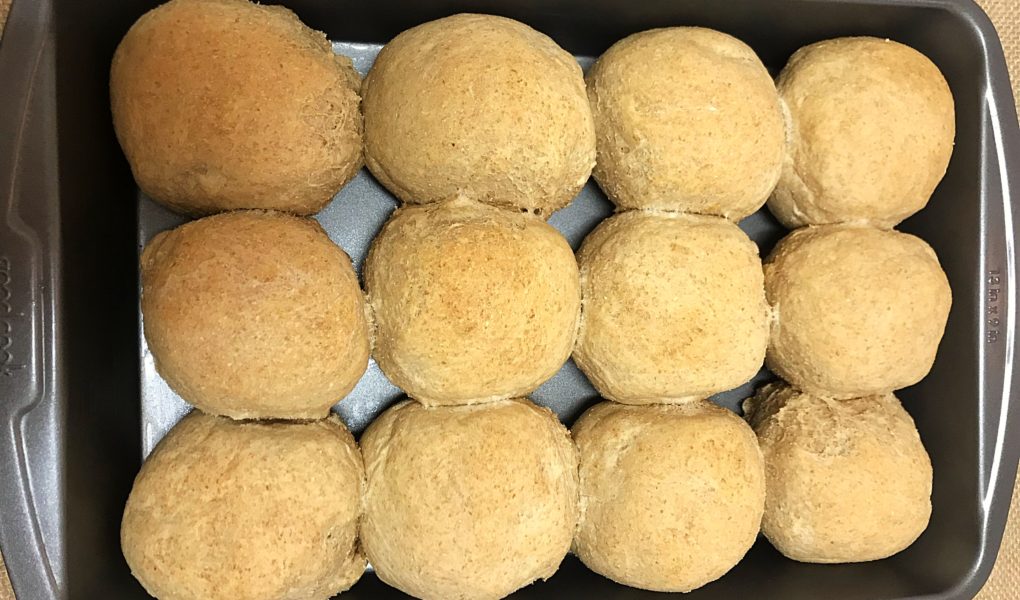
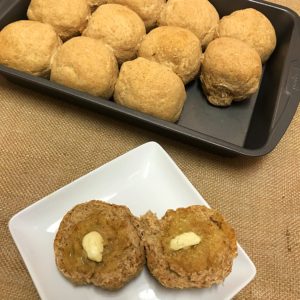
Fresh made bread is, in my humble opinion, the best part of any meal. Making bread always seems like a daunting task, but it really doesn’t have to be! This recipe is really easy and always impresses. This isn’t exactly a quick recipe (mostly because of the rolls need almost 2 hours of rising), but it is very easy. I love making these rolls to go with soups, or as buns for sliders, and of course a scrumptious side to every holiday meal. Give these rolls a try and I know you will be surprised at how easy they are and delighted with how they taste (and especially pleased with how they make your house smell). 🙂
Ingredients:
- 1 ½ cups of very warm tap water (almost too hot to touch)
- 2 tbs brown sugar
- 1 tbs rapid rise yeast (not the kind labeled for bread machine)
- 1 tbs vegetable oil
- 1 tsp salt
- 2-2 ½ cups white flour
- 2-2 ½ cups whole wheat flour
Directions:
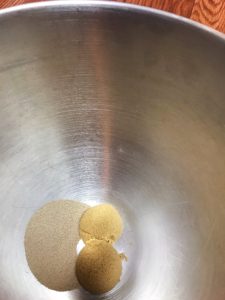
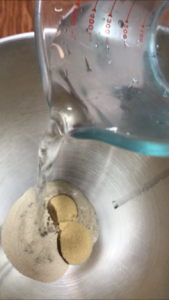
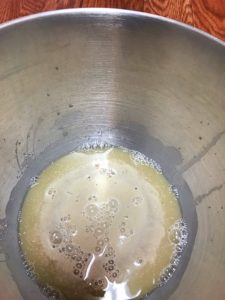
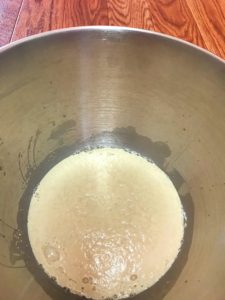
Add the brown sugar and yeast to the bowl of a stand mixer and whisk in the hot water. Allow the mixture to stand for 10 minutes, until the yeast has activated and is frothy.
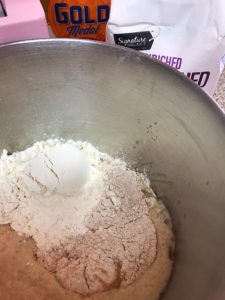
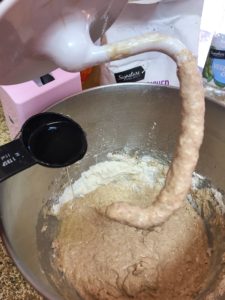
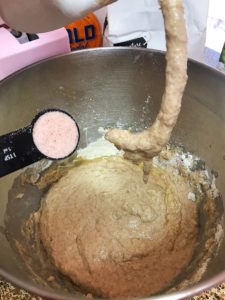
Once the yeast is ready sprinkle in 1 cup of each of the flours and mix with a hook attachment. At this point, add in the oil and the salt (you don’t want to add in the salt too soon, otherwise it will harm the yeast and the rolls won’t rise to their full potential) and continue to mix until everything is fully combined. Slowly continue to add in the rest of the flour until the dough is tacky to the touch but dough does not stick to your fingers. *I like to continue to mix the dough with the mixer for an extra 3-5 minutes to take some time off of the hand kneading.
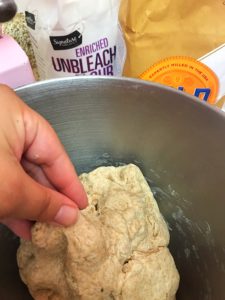
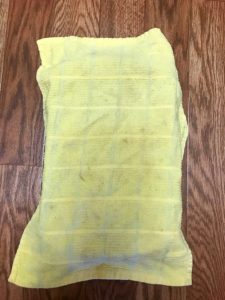
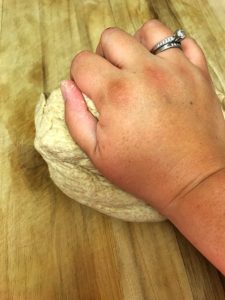
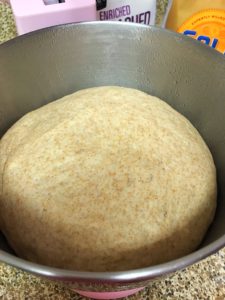
Next, transfer the dough to a clean surface (I like to use my cutting board). If the dough is the right consistency, you will not need to flour your surface, but if it’s still a little sticky, feel free to throw some white flour on your work area. With your hands, knead the dough for about 2-4 minutes (usually my muscles tell me I’m done around 3 minutes hahaha). ***Kneading the dough helps to develop the gluten and makes your rolls light and chewy. Transfer the dough to a lightly greased large bowl (I just use my mixing bowl to avoid excess dishes) and cover with a towel. Allow the dough to rest and rise for an hour.

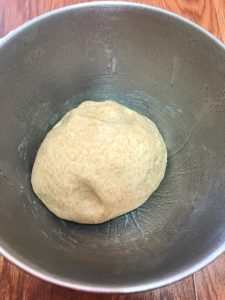
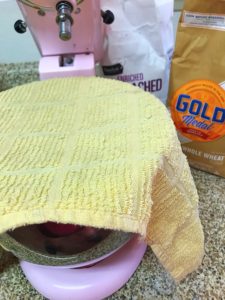
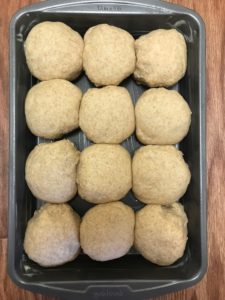
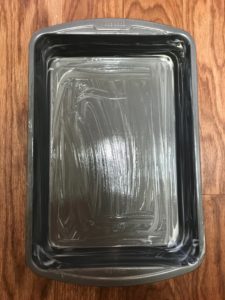
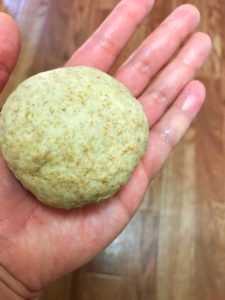
After the hour, remove the towel and punch the dough down (it should have almost doubled in size), and transfer it to the same surface you used when kneading. Now that the dough is ready, divide it into 12 equal pieces (I like to weight the whole dough ball and divide by 12, but you can also eyeball it). Roll each dough pieces into small dough balls and place them in a well-greased 9×13″ baking pan.
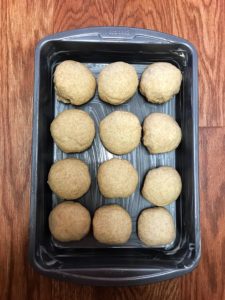
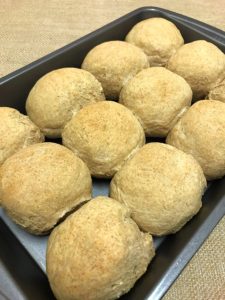
Cover the rolls with the kitchen towel and allow them the rise for another 30 minutes. When your timer goes off, preheat the oven to 375ºF and allow the rolls to finish rising while the oven preheats. Once the oven has preheated and the rolls have risen, they are ready to bake for 25-30 minutes. *Begin checking on them at the 20 minute mark, I like to rotate the pan so the rolls are evenly browned. When they are fully baked and have some brown on them, allow the rolls to sit for 10 minutes in the pan before serving. Serve warm or allow to cool completely before storing in an airtight container for up to 3 days.
